February 2022
“I am not bound for any public place,
but for ground of my own where I have planted vines and orchard trees,
and in the heat of the day climbed up into the healing shadow of the woods.”
– Wendell Berry


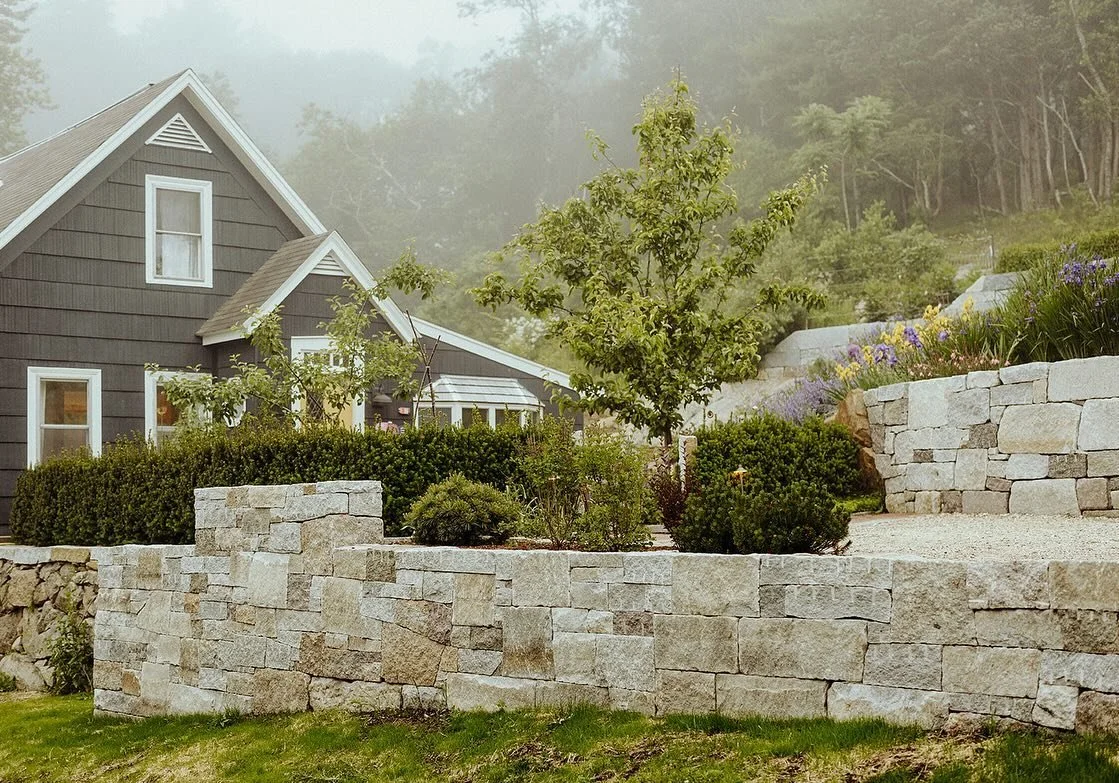
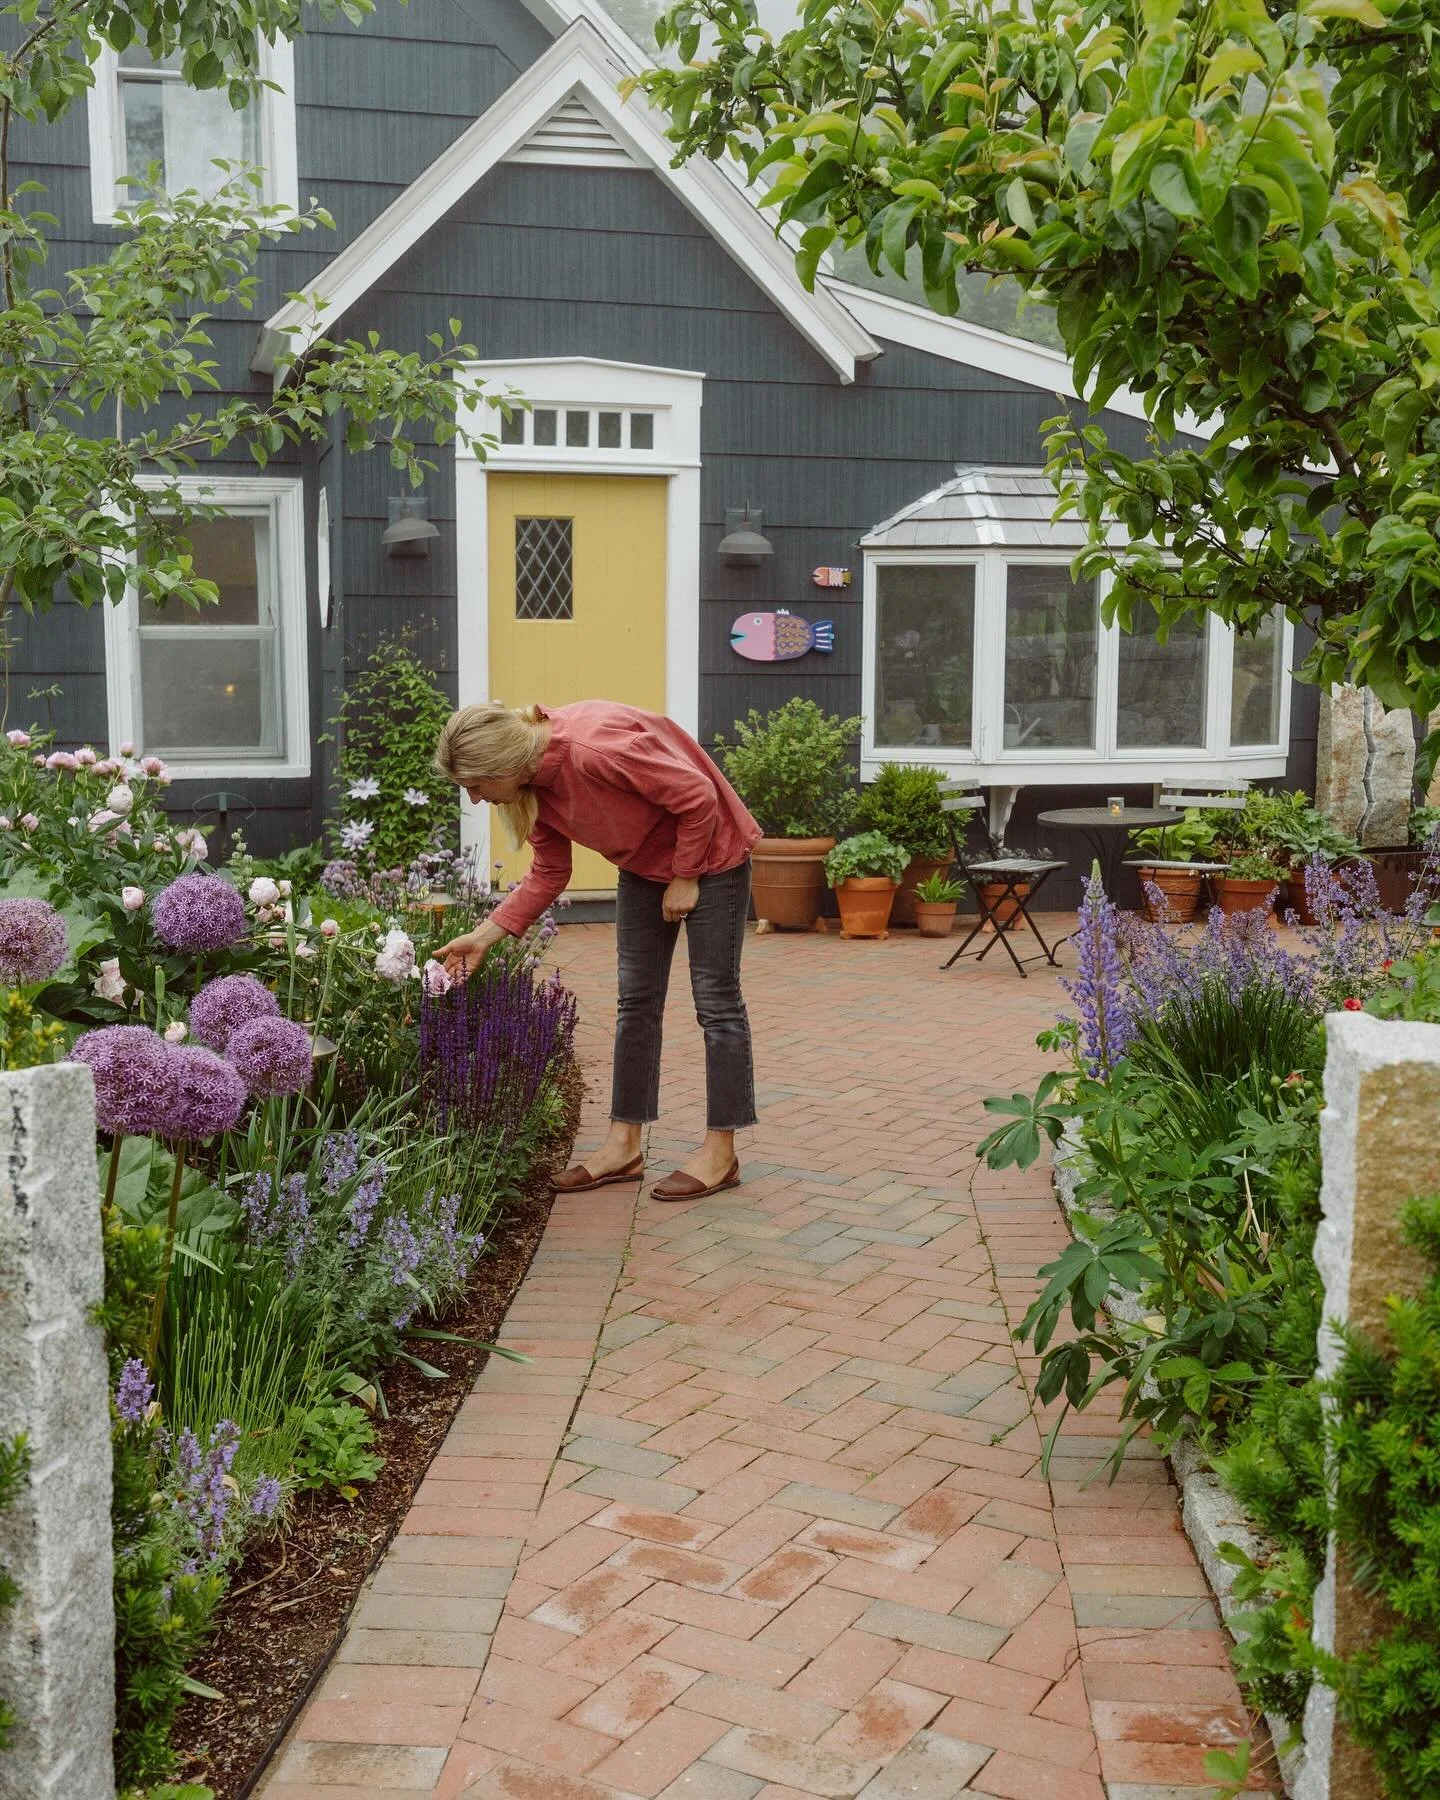
The front garden, back in September. Photo credit: Mark Spooner
Today, warm breezes and overcast skies greet me this morning with a whisper of the coming spring. But when I had sat down to write the newsletter in earnest, snow was softly swirling out the widow, it didn’t come too much, but it felt like winter out there, overcast, decidedly cold, with a strong westerly wind. The end of February can be like that, snow one day, followed by handful of days that feel as if spring was just around the corner, then of course, back to crusty snow underfoot in the garden. But in any case, the thaw is underway. A week or so back I saw an early sign of the coming of spring, the snow drops pushing up through crusty earth under the hazels. Just a half an inch or so is all that was visible, but my heart leapt with joy at such a sight. Green things growing again, the sleeping winter landscape slowing shaking off it slumber.
And I am sure you to have felt it, the days stretching out, sunrise creeps earlier and I am often surprised by how the light lingers now in the early evening. I feel myself start to have a bit more energy, shaking off the sleep of winter and getting ready to be out working in the garden. Every warm day now feel like a day to be out in the garden getting things done, almost frantically so, to prepare for springs arrival. I do like to take the end of February and the beginning of March to try to get as much done as I can, given the weather, because by the time we are in April there is simply so much to do in the garden. And even with the return of the light, I feel as if I never could have enough daylight for all that I hope to accomplish.
This is perhaps the latest I have sent out a newsletter as of yet, we only have a few days left of the month now, but here are some things I started and will continue to do for the rest of February and into the beginning of March.
FEEDING THE BIRDS
I went on and on of the joy I have in setting out feeders for the birds and watching them from the window with my little ones, if you missed it, head to January’s entry to read about the birds we enjoy.
But in any case, the key thing to remember is to keep setting out bird seed, they will keep returning to find food and they will waste precious energy looking if there isn’t food where they expect it. I keep a five gallon bucket with a lid on it round the side of the house to make it easy to top off feeders or at some onto tables or other flat surfaces.
PREP YOUR SEED STARTING SUPPLIES AND GROWING SPACES
Tomorrow, this week or sometime next, I will be repairing and cleaning the greenhouse. Some panels have become very damaged over the years and I will be cutting new panels to size to replace them. The rest in good shape are in need of a good washing. Residue can build up on your panels and reduce the amount of sun coming through, so it needs a good scrub every spring.
I have begun clearing out the greenhouse, but I still have some more plants to move out and growing tables to be set up.
You can start seeds in a good sunny south facing window sill, but I have found that you may still need to supplement with grow lights depending on how much sun the window gets, you need a good 8 hrs+, as the seedlings need all the light they can get to grow properly and not get to “leggy”. You can get grow lights pretty inexpensively these days, so it might be a good idea to invest in a few.
Pull out seed trays and clean those and pick up all your seed starting supplies. We use a wide range of things for seed starting, from plastic trays, to up cycled finds, to paper pots and biodegradable grow bags. I honestly don’t have a favorite, all have their benefits and draw backs. My goal each year is to try take care of and use and reuse the plastic so it last a really long time and to find other ways to start seeds without creating waste. One thing to say, don’t use peat products. While they work very well, biodegrade nicely and add nutrients to your soil, the harvest of peat is extremely unsustainable. The peat bogs are being depleted at an alarming rate and they take an extremely long time to grow. So just check that those brown pots are paper pulp or some other material but are peat free.
While you can start seeds in potting soil or even garden soil if that is what you got, they will enjoy a boost from added nutrients. I recommend picking up an organic seed starting mix. You can make your own as well by mixing together a bit of your garden soil with compost, worm castings, vermiculite and perlite. These mixed together give your soil added nutrients, keeps it from being too heavy, lets it drain, and has a little bit of the microbe life of your very own garden.
Starting seeds
According to the last frost date for Essex, February 21st marked 12 weeks to last frost, can you believe it! There are quite a few seeds I will hope to be sowing in the next few days, Eryngium, Delphinium, Agastache, Digitalis, and Echinacea are some of the perennial and biennial flowers I hoping to have ready to add to a new sloped meadow garden. For the veg /annual garden I have Leeks, hot peppers, celery and sweet peas to get going over the next week.
I have found it helpful to write out myself a list of all the seeds I am planning on growing and organizing them into columns by planting date, and I simple cross them off. my list as I have started them, this is a very simple system, but with all there is to do I find it is the best way for me not to forget anything.
Greenhouses
I am hoping, figures crossed, to put up a second greenhouse this spring, perhaps even this weekend or next. With the amount of seeds I start our 6x8 greenhouse is simply not adequate. And while I have dreams of building a beautiful greenhouse with a stone foundation, I am happy to simply pick up another kit to get on with for now, my plants won’t care how nice their nursery is.
For any gardener, I would recommend a greenhouse. You can get them relatively inexpensively and they are invaluable from seed starting to propagating cuttings, season extension growing of salad or other crops, overwintering plants such as rosemary or potted plants, etc. It is just essential. If you have young children, then an add bonus is it can become a warm spot for winter play. If you don’t use all of your greenhouse over winter, your kids will. I was so busy in the fall I didn’t get to planting salad greens for winter. Instead it was used to over winter a number of small and larger pots and cuttings I am propagating. But I did leave a bit of space for Evee’s fairy garden. On a sunny winter’s day it is a lovely spot for her to go play.
Our greenhouse is a kit from harbor freight tools, it is a light weight aluminum frame with polycarbonate panels. I was say it is a good starter greenhouse, of course it has a few flaws. The instructions are a bit murky and it does take a bit of time to set up if you haven’t done it before. It is also not sturdy enough on its own, so we have a timber base we attached it to and have some additional 2x4 framing on the north side for added strength. But for all that we have had it for a good 5 years I think and we are only now just replacing the roof panels. It has done its job and with the few repairs I imagine it to last quite a bit longer.
PRUNING FRUIT TREES
Some of you might have a fruit tree or several that you are looking at and thinking it might need a pruning, well now is a good time to have a look.
But a word of caution…it is very easy to overdue it when pruning fruit trees, and thus prune away all your blooms, and consequently your fruit. So easy does it! There are lots of different theories on when and how to prune each and every type of fruit tree, but here is what I have found to be true, take it our leave it, and do what you will.
To start, you need clean, sharp pruners, loppers, and pruning saws. You are preforming surgery, and it is easy to spread disease between trees or damage a tree in such a way that makes it harder for it to heal. Sharpen and clean all your tools before you begin and then when you move to a new tree, wipe down your blades with cheap vodka or something else that can sterilize the blades. Don’t leave the bits you pruned laying around, burn them immediately if at all possible, or minimally take them far away from your fruit trees, this will stop disease from spreading between trees.
Be especially careful pruning Plums, Apricots, Peaches and Cherries. They tend to be “bleeders” and don’t heal as well, so pruning them when the sap isn’t flowing as much is good. Although, prune them only when necessary, and if in doubt, don’t.
In general, all fruit trees need to have good light penetration and airflow, they say a pigeon should be able to fly through it. You are going for an open form.
For apples and pears you don’t want to give it a hard prune in winter unless the tree need major rehabilitation. A hard winter prune will stimulate lots of new growth, but not better flowering or fruit set. If you are trying to restrict growth it is better to prune in July. But in winter remove damaged or diseased branches, any branches that rub or cross or grows inward, and prune to a more open form. It is easy to over do it, so step back a lot to see the form and keep an eye on how much you are pruning, less is more.
PRUNING ESPALIER FRUIT TREES
For these, you want some strong new growth, so prune out any weak or unideal growth in the winter to invigorate desired growth based on how you are training it. Then you can come back again in July and prune that new grow to the desire form.
PRUNING RASPBERRIES
Now is the time to cut back last years canes on any fall fruiting raspberries, if you can, burn them in a brush fire, you don’t want to leave them about the patch and potentially spread and disease. Fall fruiting raspberries fruit on new growth, the canes grow and then produce fruit all in one season. Summer fruiting raspberries and black raspberries fruit on second year growth. For those you want to leave the new growth from last year and prune away the old growth that fruited the last year.
TOOL MAINTENANCE
Before all the above pruning take some time to lay out your tools, pruners, looper, saws, shovels, hoes, etc. Wipe them all down and clean them up. A damp rag with a touch of soap can remove any stuck on residue on handles and other parts. Wire wool and a bit of elbow grease can remove build up, rust and any of the like on all the metal bits of blades and spades. A sharpening stone can be used to hone the edges of knives, cutting blades, shovels, ect. Lastly I use a good linseed oil to rub down all my wood tool handles (my favorite place to buy high quality garden tools are Felco and Sneerboer).
As it turns out, sharper tools that work properly are both safer to use and do less damage to your plants. So pick a particularly cold day that you find yourself dreaming of your garden and pull out all the tools, put on a garden show in the background and get cracking at garden tool maintenance.